4 minutes
How To Export Sketch Assets for Android

If you’re reading this, you’re probably either building or designing Android apps and figuring out the best way to bring your assets from Sketch to Android Studio. Sketch is the most commonly used app designing tool out there (for good reasons)- if you’ve made apps for long enough, the chances are that you’ve dealt with assets generated form it, or that you maybe even had to export them yourselves. Either you need a refresher or you’ve never done it before, worry not, it’s never been simpler.
mdpi, hdpi, xhdpi, xxhdpi, xxxhdpi… and svg
If you’ve read the Android documentation about screen densities
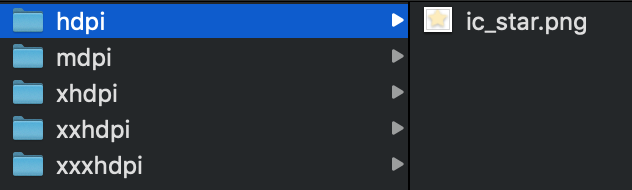
, you may know that PNGs should be converted to different sizes to properly scale to all device sizes. Each size then ends up in their own folder (res/drawable-mdpi, res/drawable-hdpi etc…), and if you want to change your image’s color, you’re probably better off changing its color in yor design tool and generate a new set of images.
Alternatively, you can work with SVGs, import them once, and set their color programatically. For the sake of simplicity and flexibility, you will want to go this path when appropriate (usually for simple icons), though you will still have to deal with PNGs frequently. Let’s dive into how you’d handle each.
Exporting PNG assets
You (or the designer you’re working with) created an asset with some extra details (in this case, shadows) and you’ve decided PNG assets would be most appropriate here. In order to export it, we’re gonna start by selecting the asset by double clicking on it. At the very bottom of the right panel, you will find a MAKE EXPORTABLE button. Click on it to expand export options
![]()
Now that the export window is expanded, you can select the Android preset by clicking on the tune icon on the top right (things work the same way for iOS). Upon selecting Android, you will notice the 5 different presets and file structure associated with your assets. You can now click on Export Selected…
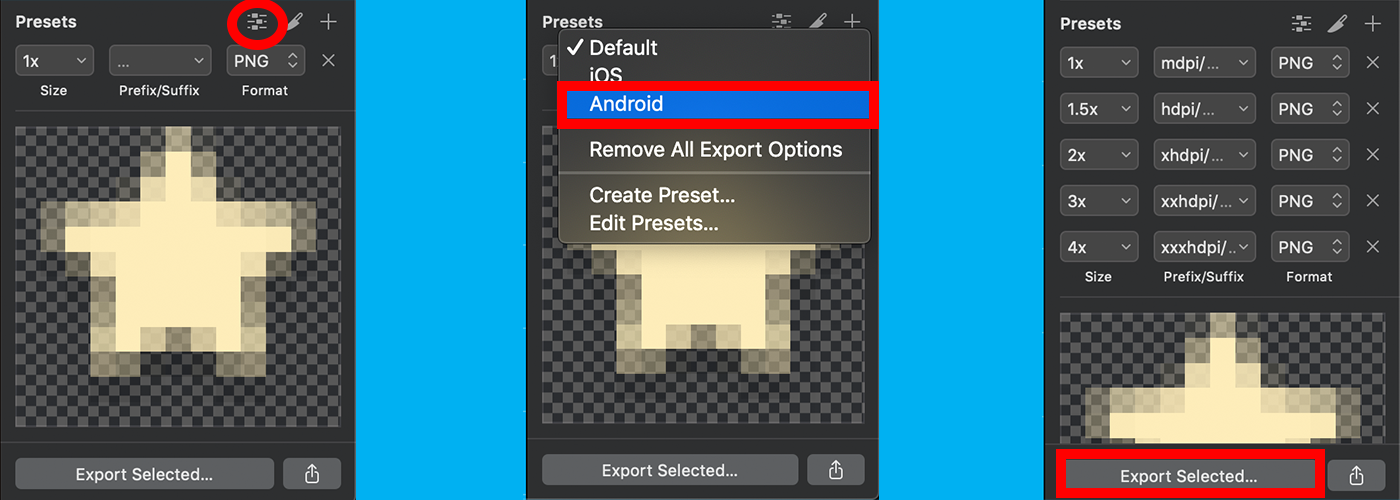
And that’s it! Your resized assets will be generated in a folder of your choice and are ready to be imported into Android Studio (here is an article on how to bulk import them instead of dropping them 1 by 1)
Note that your png asset will be named the same as your Sketch layer and that special characters will be replace by something Android Studio can interpret. It’ll be easier to change the name of your layer than going back to each file Sketch generates and rename them manually, so make sure to do it before hand if your app files have naming conventions.
Exporting SVG assets
Exporting SVG assets isn’t very different. This time, we’re going to use a simpler asset with no shadow or complex details. SVG being vector based, it excels at handling shapes. We’re starting with the same steps and are going to click on MAKE EXPORTABLE again after selecting the asset we want to export.
![]()
Now that the export window is expanded, we will select the Format dropdown and change it from PNG to SVG. Notice that the edges will be smoothed, as SVG scales nicely to any pixel density. You can now click on Export Selected…
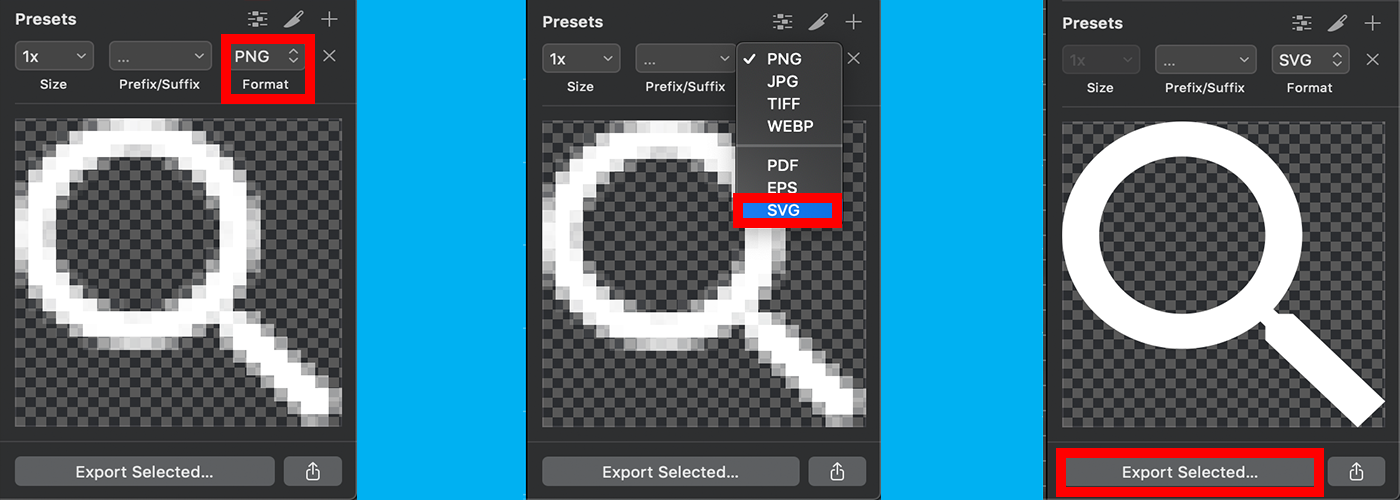
This time, you will end up with a single SVG file, ready to be imported to your Android app. Read on if you want to know how imports work.
Note that Android 5.0 and up is required for this. As of mid-2019, about 90% of phones are running 5.0 and above
Importing my assets to Android Studio (the fast way)
Your assets are now ready to be imported to your upcoming Android app. If you’re a designer, your work is now done and you can send your assets to your Android engineer. If you’re a developer, the next article will cover how to stop wasting time bringing each asset and size one by one, and instead explore time efficient ways of bulk importing PNGs and customize SVGs so you can reclaim this precious time for actual development work. Keep on reading!
679 Words
2022-12-27 12:34 +0000